Three before-photo slots
Document more than one baseline angle with up to three optional before images per treatment.
Clinical photo workflow
Aesthetic Pass lets aesthetic providers keep the selected image set with the correct patient and treatment while following a repeatable photography protocol. Every treatment can be saved with no photos, up to three before photos and up to two after photos across a connected iOS, Android and web workflow.
No demo required · One account for web, iOS and Android · 25 distinct treated patients free
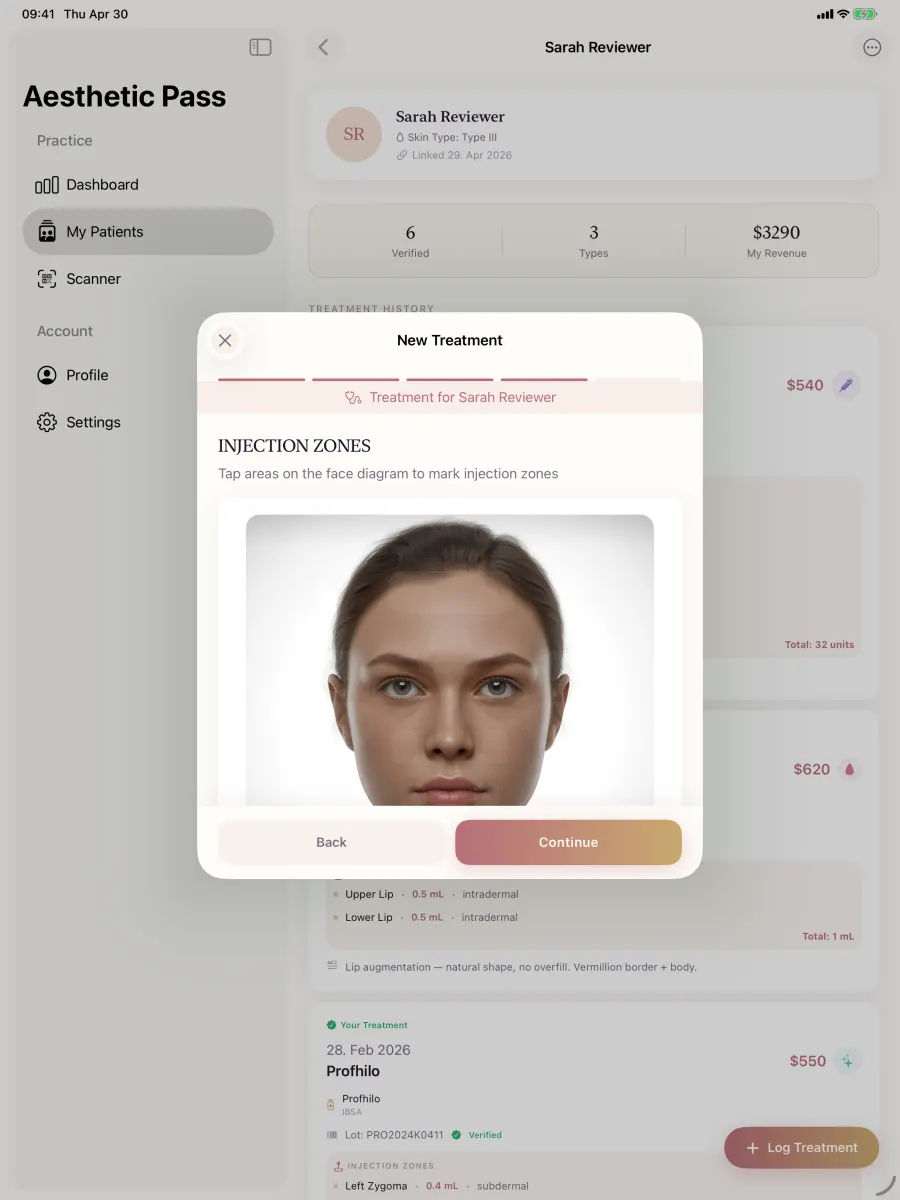
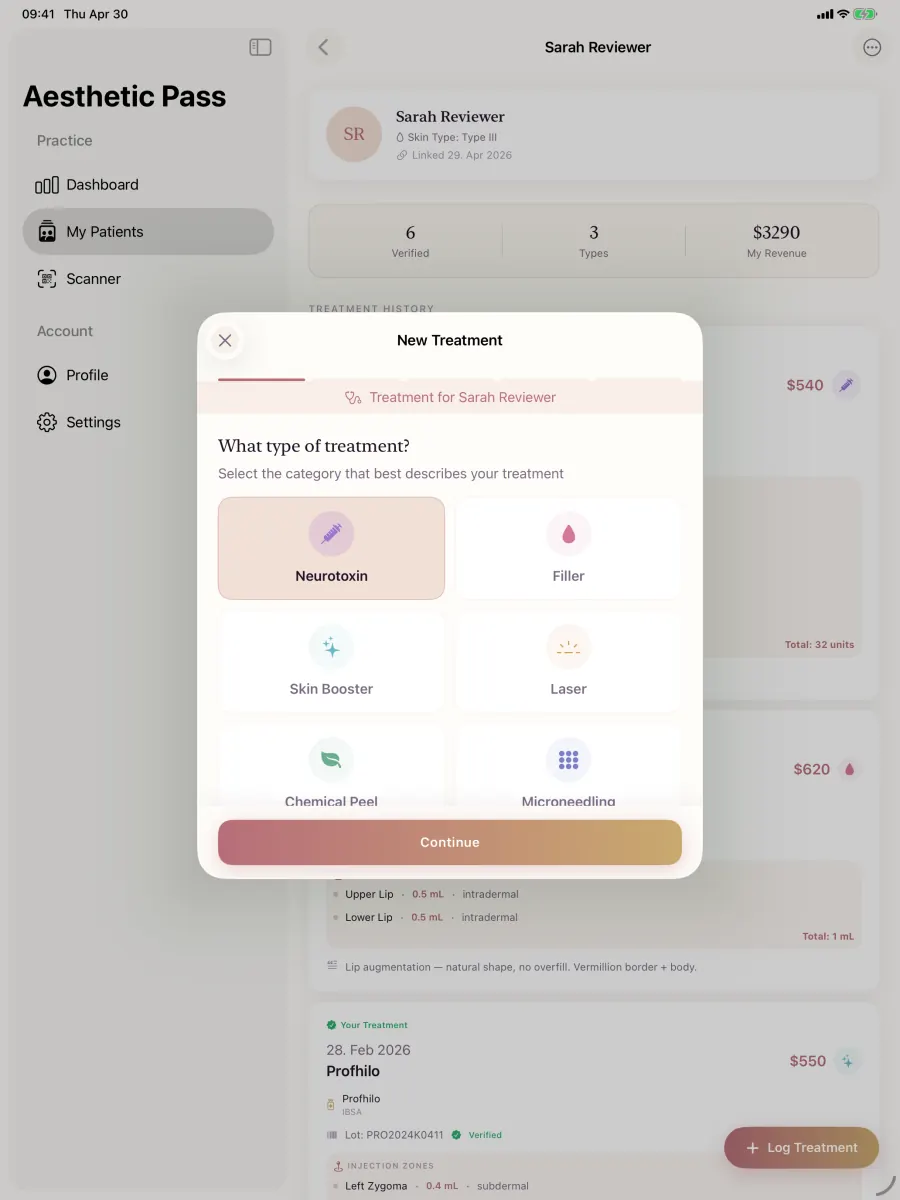
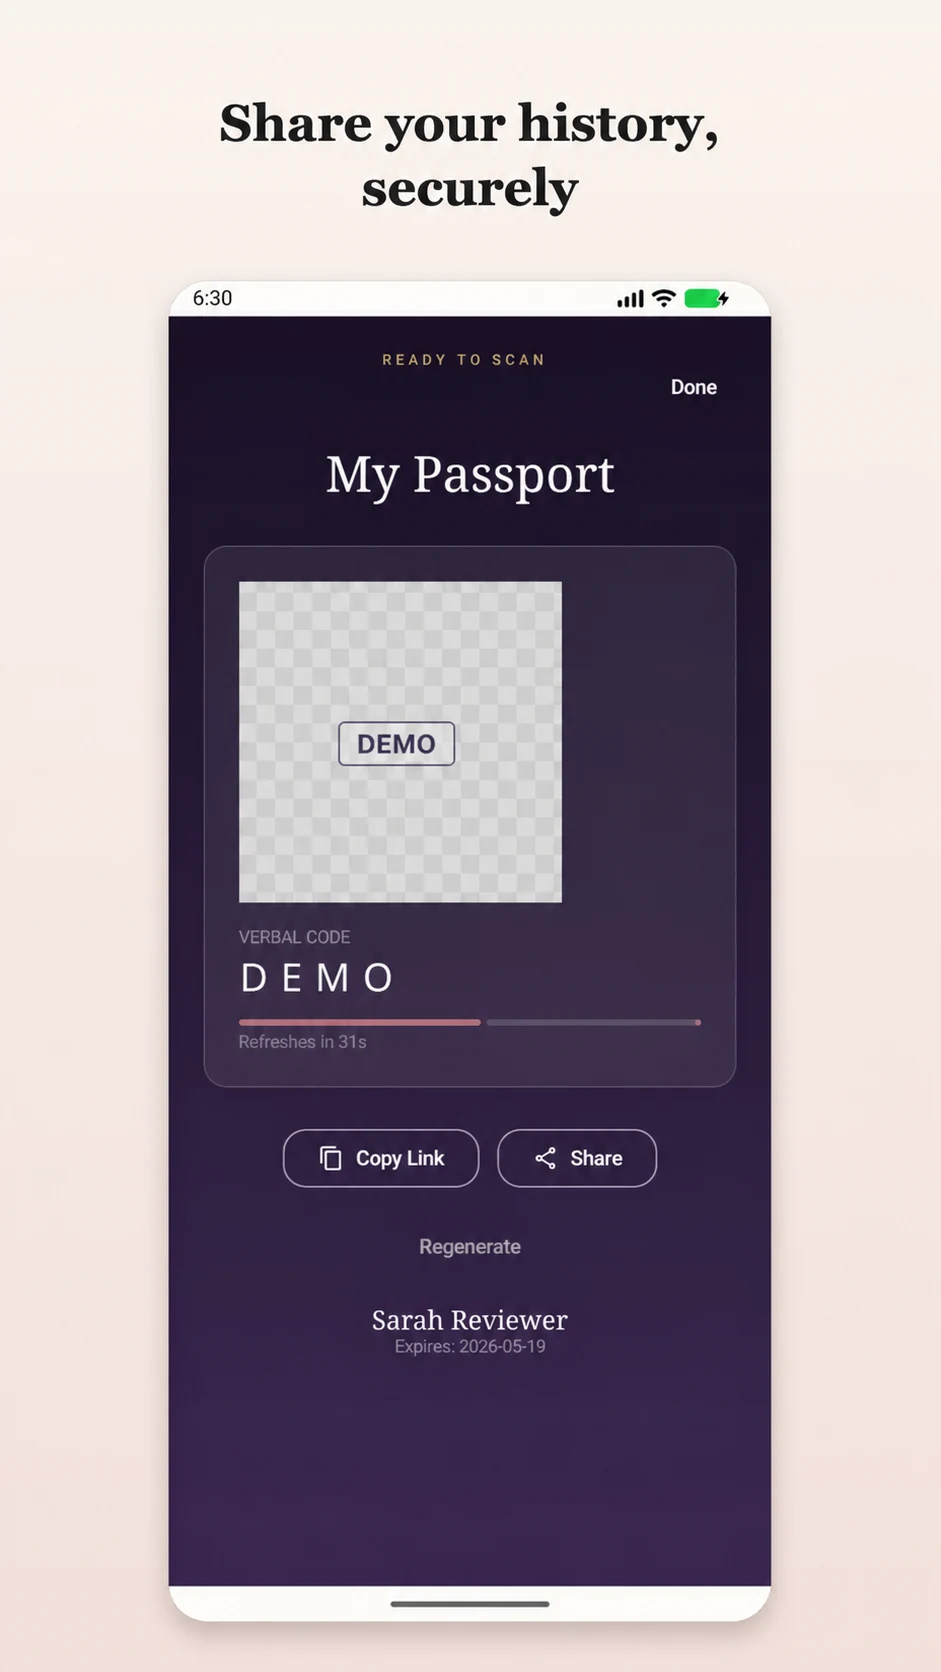
Real product screens
These screens come from the published Aesthetic Pass workflow and use demo-only profiles.
45-second product workflow
Silent, captioned product demonstration using demo-only profiles. The app records practitioner input; it does not recommend treatment.
Why the workflow matters
One image is not always enough to document a treatment area, while an immediate after photo is not useful for every procedure. Separate before and after slots give the practitioner flexibility without turning photography into a mandatory step.
How it works
Photo choices remain part of the treatment draft until the practitioner reviews and saves the treatment.
Open the treatment documentation flow for a linked patient so the photo draft begins in the correct treatment context.
Capture or select zero to three before photos and review each selected slot before continuing.
Capture or select zero to two after photos. Leaving every after slot empty does not prevent the treatment from being saved.
Each completed upload is recorded with its before or after type and slot, then associated with the saved treatment.
Capabilities in context
Document more than one baseline angle with up to three optional before images per treatment.
Add up to two optional after images when the timing and treatment type make them useful.
Use before photos without after photos, after photos without before photos, both groups, or neither group.
Uploaded photo records include the treatment, photo type and slot so they can be displayed with the corresponding history entry.
The provider can review selected photo slots as part of the treatment draft before completing the documented encounter.
The final image set remains in the context of the saved treatment instead of becoming an isolated file that must be reconciled later.
Evidence-led capture practice
Professional photography guidance from ASDS and ASPS consistently emphasizes repeatable framing, lighting, positioning and background. Aesthetic Pass stores the selected images with the treatment; the clinic remains responsible for its capture protocol, consent and clinical interpretation.
Primary professional sources
Six-criterion evaluation framework
Start with comparability, not whether the second image looks more dramatic. A useful pair preserves enough patient, treatment, time-point and capture context for an authorised reviewer to understand what changed and what may be explained by photography.
Score each criterion as pass, needs clarification or not comparable. If identity or intended use cannot be confirmed, stop the review and resolve that critical gate before discussing the visual result.
Apply the same rubric to every image set in the review sample, record the evidence behind the score and send unclear pairs back to the named workflow owner. Consistent adjudication is what turns a visual impression into a repeatable quality process.
| Criterion | Question to ask | Evidence to inspect | Pass condition |
|---|---|---|---|
| 1. Patient, treatment and time-point identity | Can a reviewer prove that both images belong to the same patient, treatment and intended before-or-after time point? | Patient-linked treatment context, explicit before or after role, image slot and a retrievable saved encounter. | The matched pair reopens from the correct treatment without relying on a camera-roll filename or memory. |
| 2. Matched viewpoint and patient position | Are head or body orientation, expression, posture and visible treatment area materially consistent across the pair? | A practice-defined view list and capture position repeated for the comparison image. | A reviewer can compare the intended area without mentally correcting for a different pose or camera angle. |
| 3. Lighting, background and exposure | Were illumination, background, shadows, white balance and exposure controlled closely enough to avoid creating a visual effect? | A fixed capture location or documented setup with repeatable lighting and background controls. | The visible difference is not primarily explained by a brighter exposure, different shadow pattern or changed background. |
| 4. Framing, distance and optical consistency | Do crop, camera-to-subject distance, device orientation and zoom or lens choice preserve comparable proportions? | Framing guides, floor or tripod positions, agreed device settings and the same aspect orientation for matched views. | The treatment area occupies a comparable frame without perspective changes that exaggerate or minimise the result. |
| 5. Timing and clinical context | Is the follow-up interval defined, and are temporary effects or material contextual differences recorded for the reviewer? | Treatment date, capture stage and practice-approved notes kept with the encounter rather than inferred from the image alone. | The comparison states what time points are being compared and does not present an immediate post-treatment view as an unexplained final result. |
| 6. Permission, integrity and intended use | Has the practice separated clinical-record use from teaching, internal review and public marketing permissions? | An approved purpose, access path and publication decision retained under the practice's consent, privacy and advertising process. | The team can explain why the image is held, who may access it and whether it may be used outside the clinical record. |
The framework evaluates the quality of the comparison record, not the clinical quality of a treatment. The treating professional interprets the images alongside the patient, examination, procedure record and relevant follow-up context.
Standard operating procedure
Published clinical-photography research repeatedly treats reproducibility as the foundation of valid comparison. Turn that principle into a short practice protocol the same team can repeat at baseline and follow-up, then use Aesthetic Pass to keep the selected views with the treatment.
Choose whether the images support the clinical record, follow-up comparison, internal quality review or an separately approved publication use. List the views and timing needed for that purpose before capture.
Completion evidence: A versioned photo protocol naming purpose, required views, timing, owner and permission path.
Apply the practice's rules for background, lighting, privacy, clothing or accessories, hair, makeup and visible identifiers so the intended treatment area can be reproduced appropriately.
Completion evidence: A repeatable room or setup checklist that the actual team can complete consistently.
Use agreed patient orientation, camera height, distance, device orientation and zoom or lens settings. Preserve guides that help the next provider reproduce the same view.
Completion evidence: A baseline series with complete planned views and no accidental crop or perspective mismatch.
Confirm identity, treatment context, focus, exposure, view coverage and before-photo role while a retake is still possible. Do not postpone this check until the follow-up visit.
Completion evidence: Every retained baseline image is readable, correctly classified and intentionally linked to the treatment draft.
Return to the same protocol and reproduce the selected baseline views at the practice-defined follow-up time. Record material deviations rather than hiding them through cropping or editing.
Completion evidence: A matched comparison set with explicit before and after roles and understandable time-point context.
Save the chosen images with the correct treatment, verify later retrieval and apply the practice's access, retention and permitted-use controls. Aesthetic Pass supports zero to three before photos and zero to two after photos for each treatment.
Completion evidence: The authorised reviewer can reopen the exact image set from the patient-linked treatment record.
Aesthetic Pass supports a flexible no-photo, before-only, after-only or matched workflow. The practice decides which views are appropriate; the software preserves the chosen before or after role, image slot and treatment association so an authorised reviewer can retrieve the final set from patient history.
Clinical record and publication governance
A photograph collected for the clinical record does not automatically become approved educational or marketing content. Define the purpose before reuse, preserve the relevant permission and have qualified reviewers assess the privacy, professional and advertising requirements that apply to the intended audience.
| Intended use | Purpose | Approval path | Control to verify |
|---|---|---|---|
| Clinical treatment record | Preserve visual context for the documented encounter and later authorised review. | Practice-approved clinical capture and record-handling workflow. | Correct patient and treatment link, role-based access, retention rule and retrievable history. |
| Follow-up discussion | Support a like-for-like conversation about the documented time points without letting the image replace professional assessment. | Clinical follow-up process and an agreed method for recording interpretation or next steps. | Matched views, explicit timing and any material capture deviations visible to the reviewer. |
| Internal quality or education | Review workflow consistency or teach an approved audience within the practice's governance model. | Defined internal purpose, audience, access and any required de-identification or permission. | No silent reuse from a clinical record merely because an image is technically available. |
| Website, social media or advertising | Communicate an outcome or experience to prospective patients. | Separate publication permission plus qualified review of privacy, professional and advertising requirements. | Matched presentation, documented substantiation and review of the express and implied claims conveyed by the full creative. |
Published plastic-surgery photography literature describes consistent lens or settings, lighting, patient position and standard views as essential to reproducible comparison.
PubMed: photographic standardsA 2024 review brings capture standardization together with contemporary security, consent and ethical considerations for clinical photography.
PMC: standardizing and safekeeping photographyFTC guidance explains that health-related advertising must be truthful and substantiated and that before-and-after images can communicate implied claims in the context of the full advertisement.
FTC health-products guidanceEnterprise quality assurance
A protocol earns authority when the team can demonstrate that it is followed. Name an owner, version the view list, train with fictional profiles, review a sample at a fixed cadence and measure the same definitions before and after rollout. This is more useful than an unverified claim that a camera workflow is “standardized.”
| Metric | Reproducible definition |
|---|---|
| Matched-pair completeness | Applicable follow-up sets containing every practice-required matched view divided by all reviewed follow-up sets. |
| Correct-link rate | Reviewed images attached to the intended patient, treatment and before-or-after role divided by all reviewed images. |
| First-pass acceptance | Capture sets accepted without a missing view, focus, exposure, framing or identity correction divided by reviewed sets. |
| Median retrieval time | Median elapsed time for an authorised user to find the exact treatment and its selected image set. |
| Approved-use accuracy | Reviewed uses that match the recorded clinical, internal or publication permission path divided by all reviewed uses. |
Photos are strongest when patient identity, current intake, mapped treatment detail, product, lot, notes and follow-up remain connected. Continue into the aesthetic treatment documentation workflow or the printable toxin treatment-record guide.
Bring fictional before-only, after-only and matched scenarios to a walkthrough. Verify selection, review, save and later retrieval from the correct patient-linked treatment on the devices your providers use.
Book a photo-workflow demoClear boundaries
Aesthetic Pass gives the practice a reliable treatment-linked photo record while the qualified aesthetic provider retains control of capture, comparison and clinical interpretation.
FAQ
You can add up to three before photos to one treatment. All three slots are optional.
You can add up to two after photos to one treatment. Both slots are optional.
Yes. The practitioner can continue and save the treatment without selecting or uploading any before or after image.
Each treatment photo is associated with the specific treatment as well as its before or after type and slot, keeping it with the corresponding timeline entry.
Confirm the same patient, treatment and intended time points; compare matched viewpoint, patient position, lighting, background, exposure, framing, distance and device settings; record material timing or capture differences; and verify the image set's permission, integrity and intended use. The detailed six-criterion scorecard on this page makes the review repeatable.
Yes. Aesthetic Pass keeps zero to three before views and zero to two after views attached to the exact treatment. Combine those slots with the visible six-step capture protocol on this page so the practice defines and repeats its approved views, environment, framing, timing and final review.
Practice resources
Clinic checklist
A practical treatment-documentation checklist for aesthetic practices covering visit preparation, product and lot records, injection details, optional photos, review and follow-up.
Open2026 buyer's guide
Compare aesthetic clinic software with a 45-minute live test for anamnesis, consent, treatment plans, charting, injection mapping, booking and reporting.
OpenReview the photo flow
In a demo, we can walk through treatments with no photos, several before views, after views or a combination of both.
Start freeWith your permission, Google Analytics measures visits and actions on public marketing pages only. It is never loaded on patient passports, sign-in, registration, account, dashboard, admin, API, or checkout pages. Privacy details